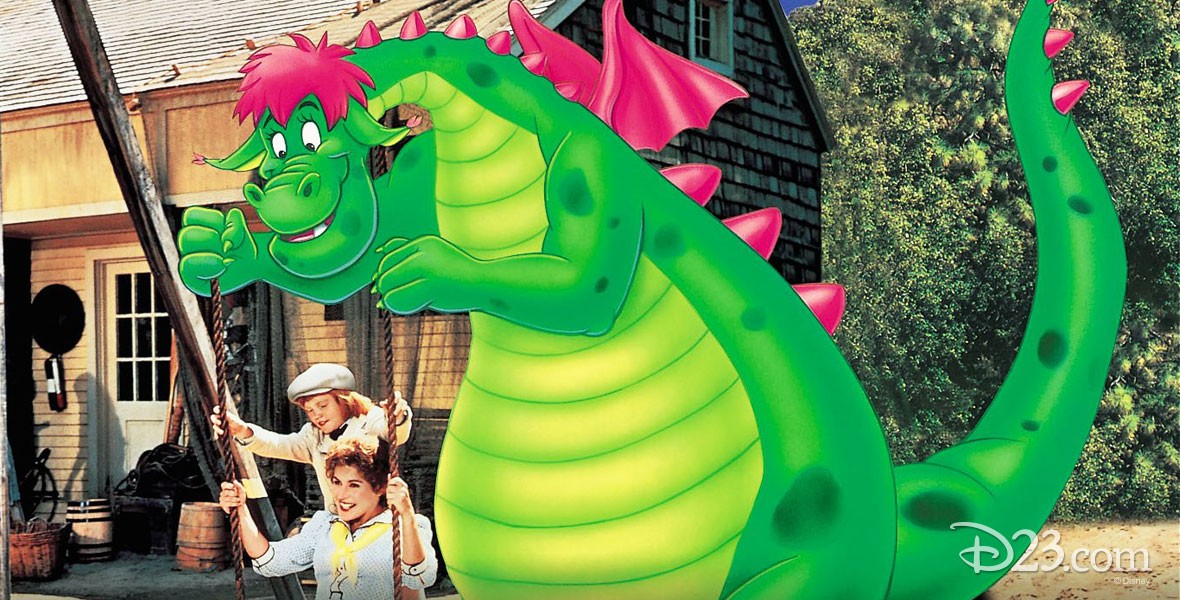
One of the Disney movies I grew up watching, my Grandads favourite, was Pete’s Dragon, the 1977 version. I remember many afternoons gathered around a TV set with my cousins watching the movie, and then introducing the movie to my youngest sister as well. My little Niece is now nearly 2 years old and an absolute ball of energy. Her favourite animal varies, but anything that says “RAWR” is a on the favourite list. When my sister announced she was expecting her second child I knew the perfect gift for my Niece (for while my sister is in hospital), was a stuffed toy of Elliott.
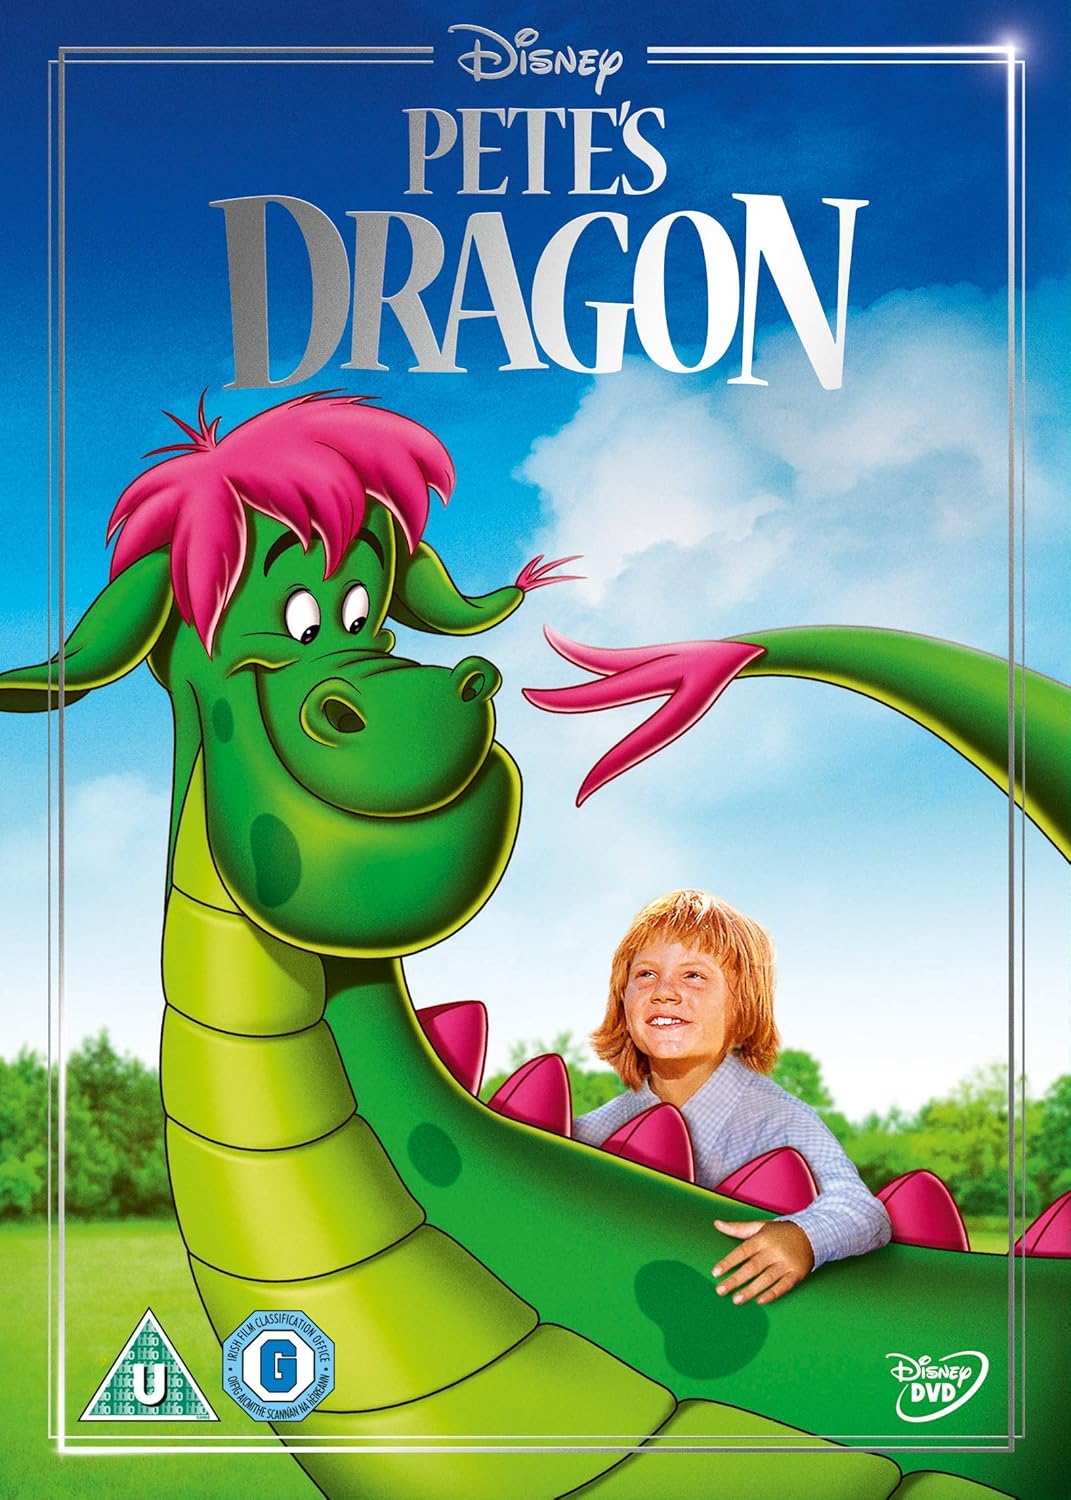
For those who aren’t familiar there are two versions of Pete’s Dragon, the original 1977 (the best) and a 2016 re make. I’ll admit I am biased, but the original is better.
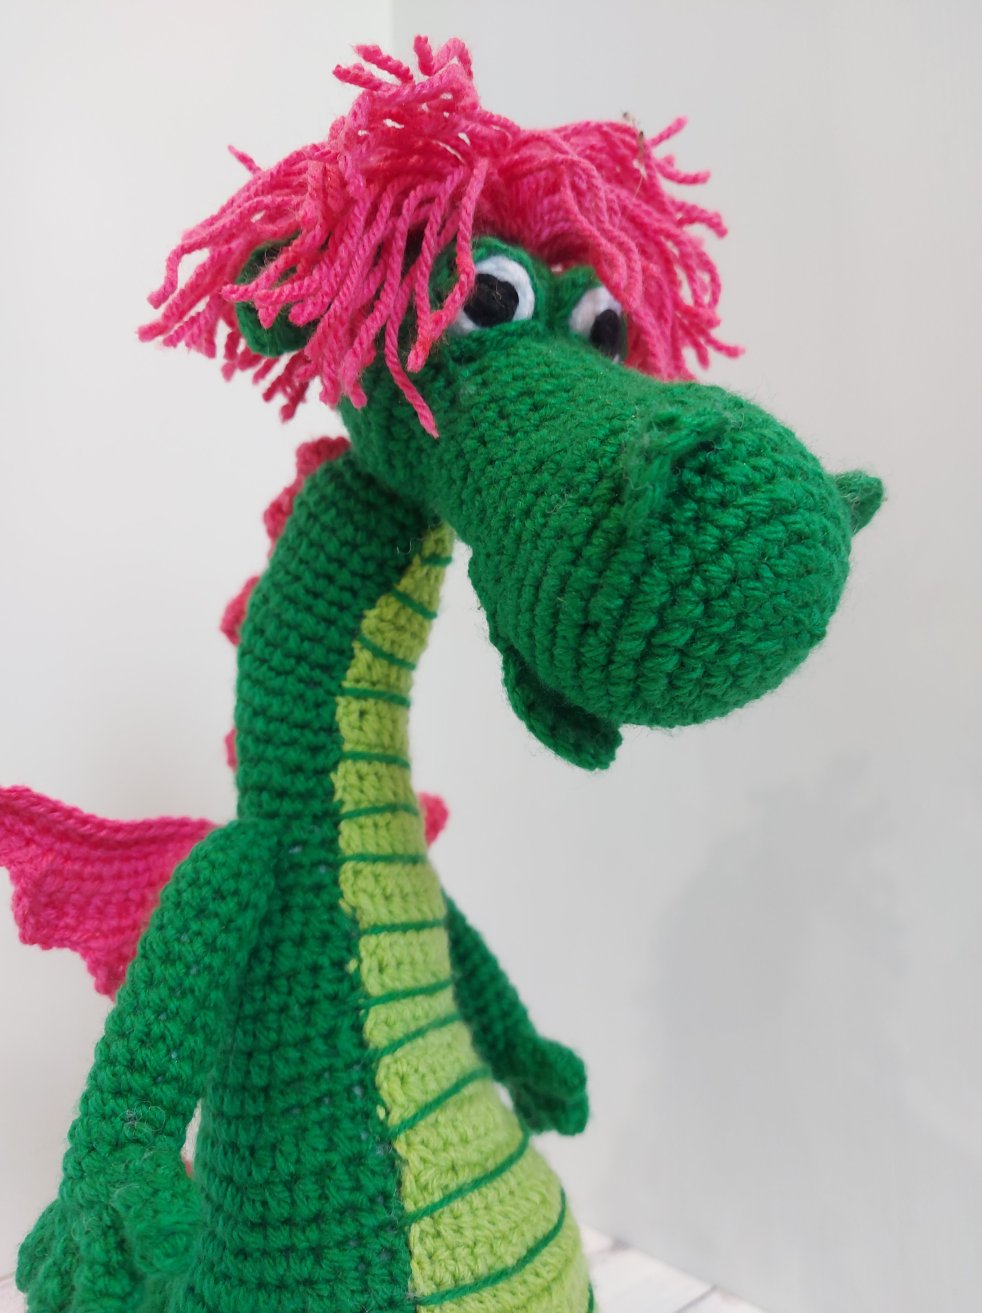
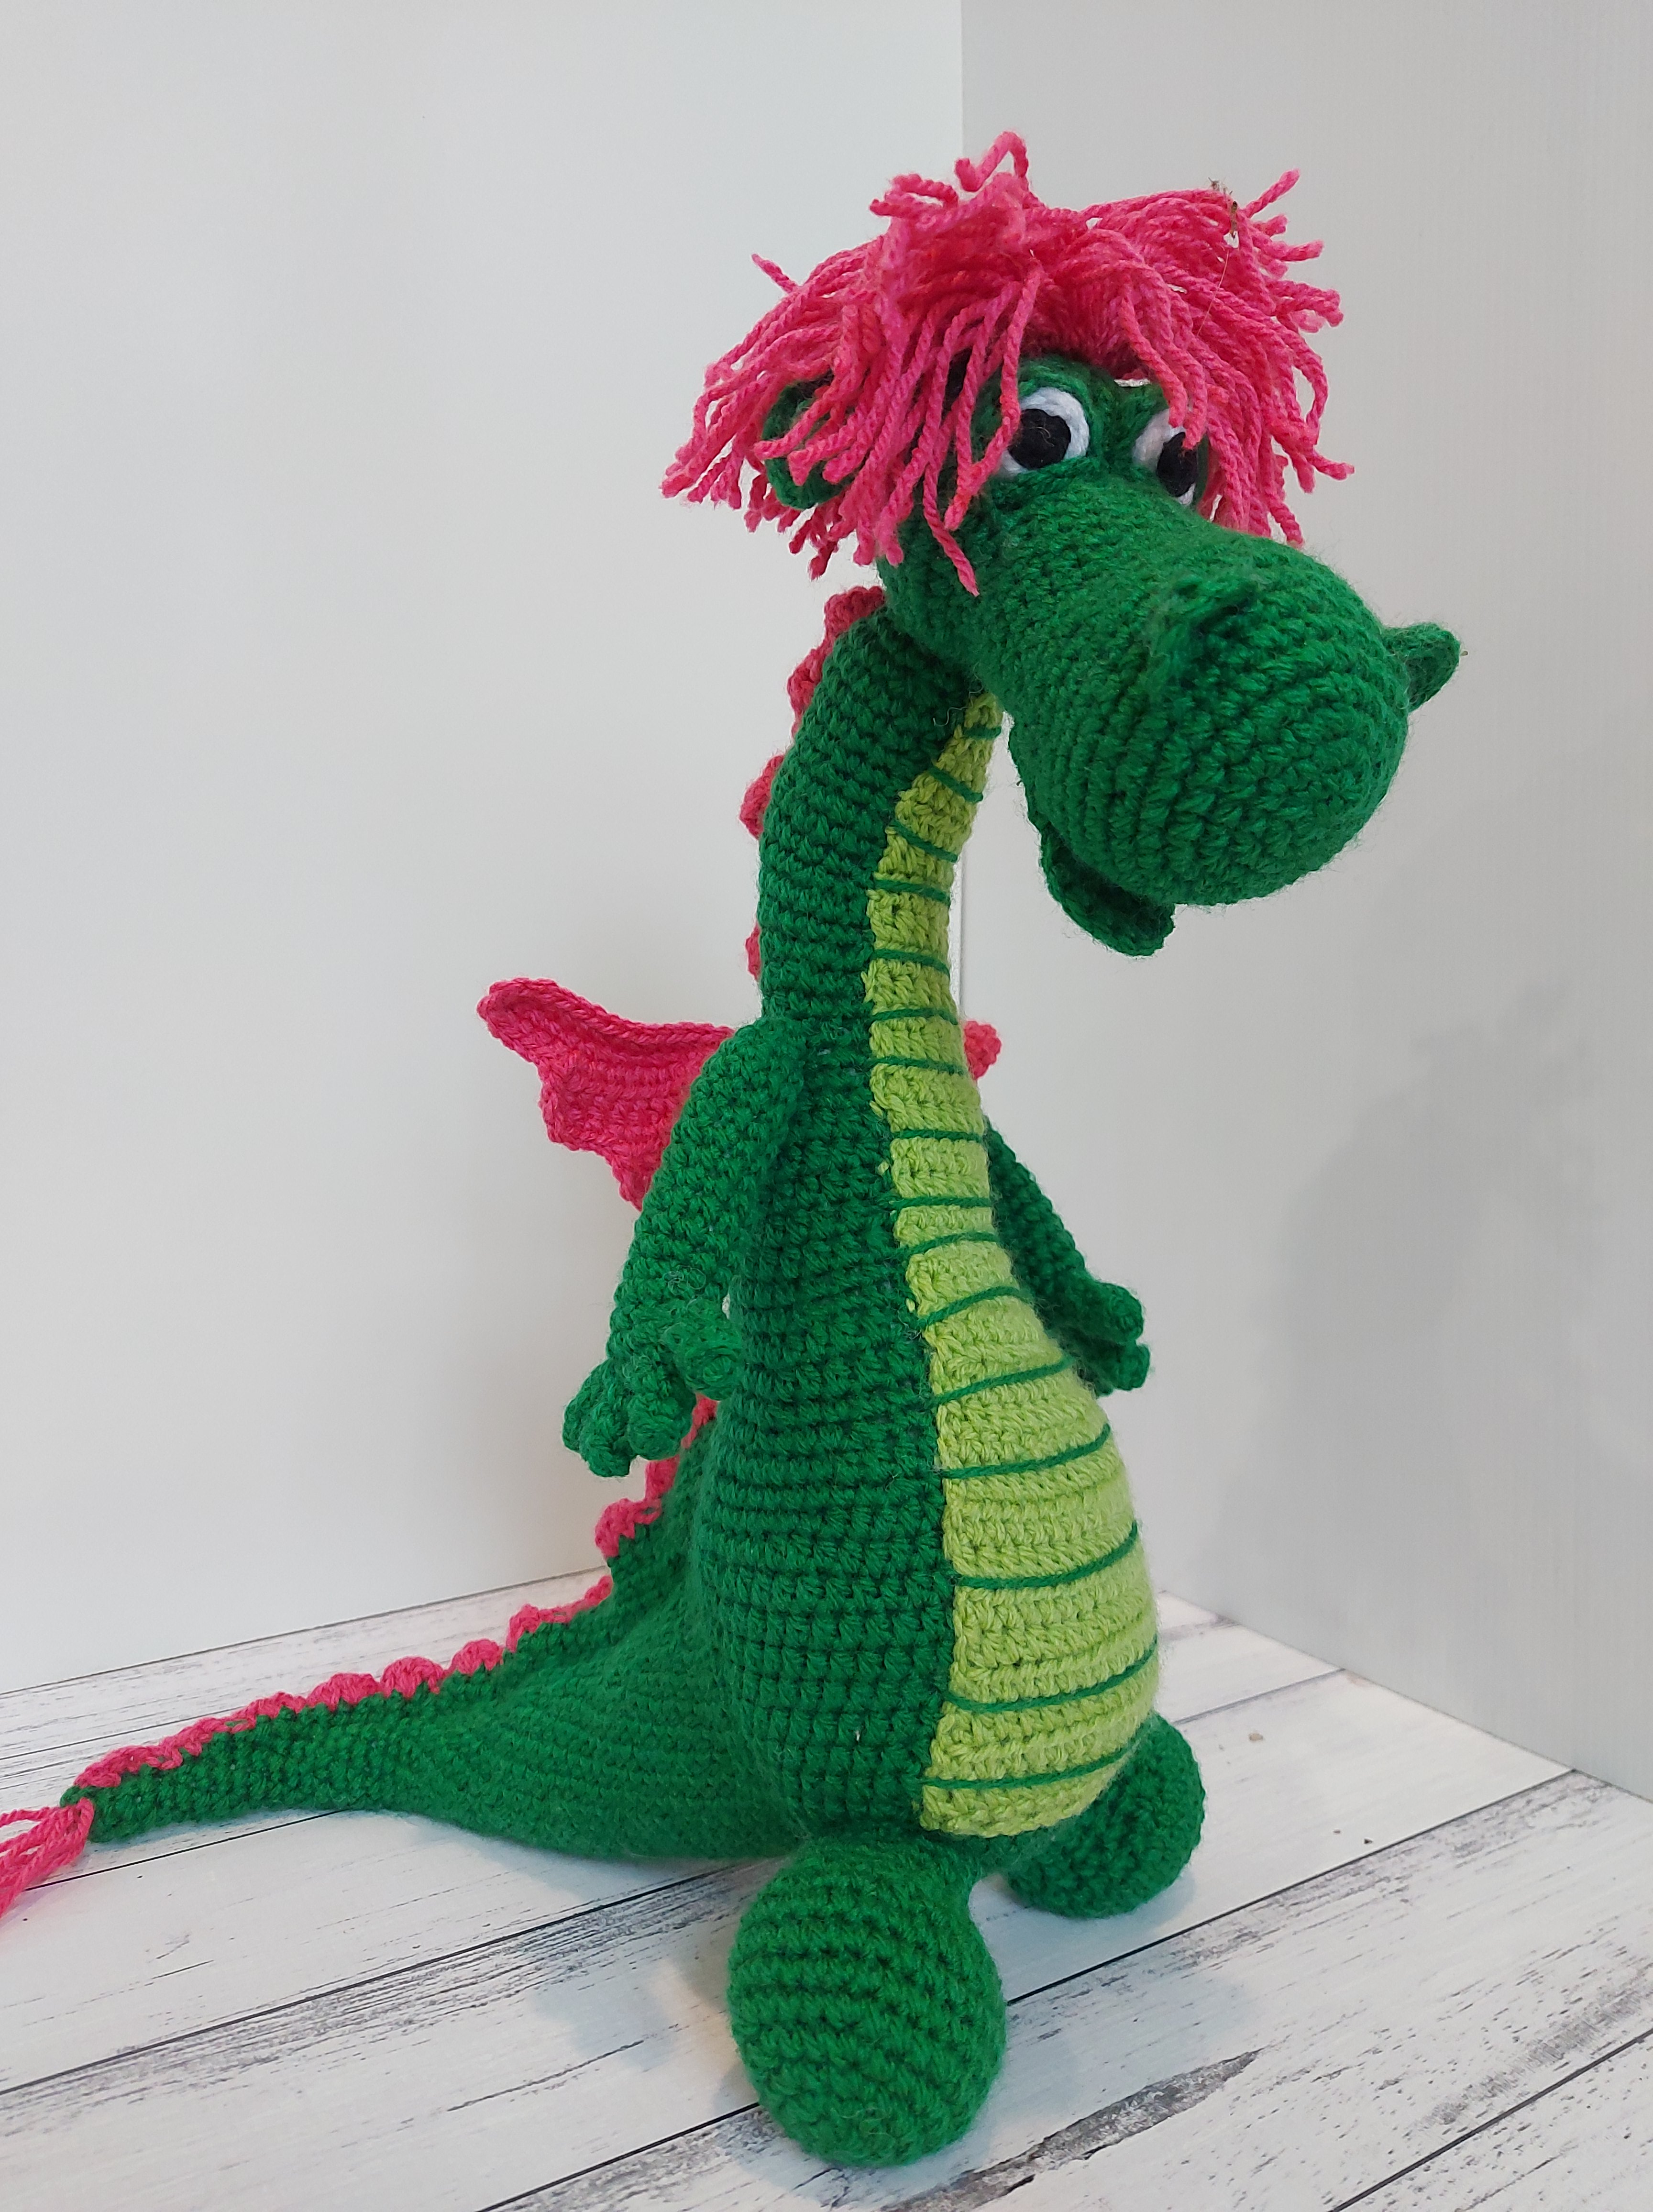
The first step was to find a suitable dragon pattern to base Elliot from. There are so many great patterns out there, however I only identified one that captured the goody nature of Elliot. The winning pattern was an adaptation of the sleepy looking dragon by Sharon from Amigurumi to go. She has done a fantastic job on the pattern. hardly any adjustments were needed to re-create Elliot. She has detailed written instructions and videos to assist with the making, shaping and assembly of the dragon.
You will need to add a third colour to the recommended colourway. You will need a dark green, light green and hot pink colour yarn (plus a small amount of white and black for the eyes). I chose to use DK weight yarn, and scaled hook size appropriately. You only need to make the inner wing in pink. The belly lines are done in the darker green. and the only light green is in the belly patch.


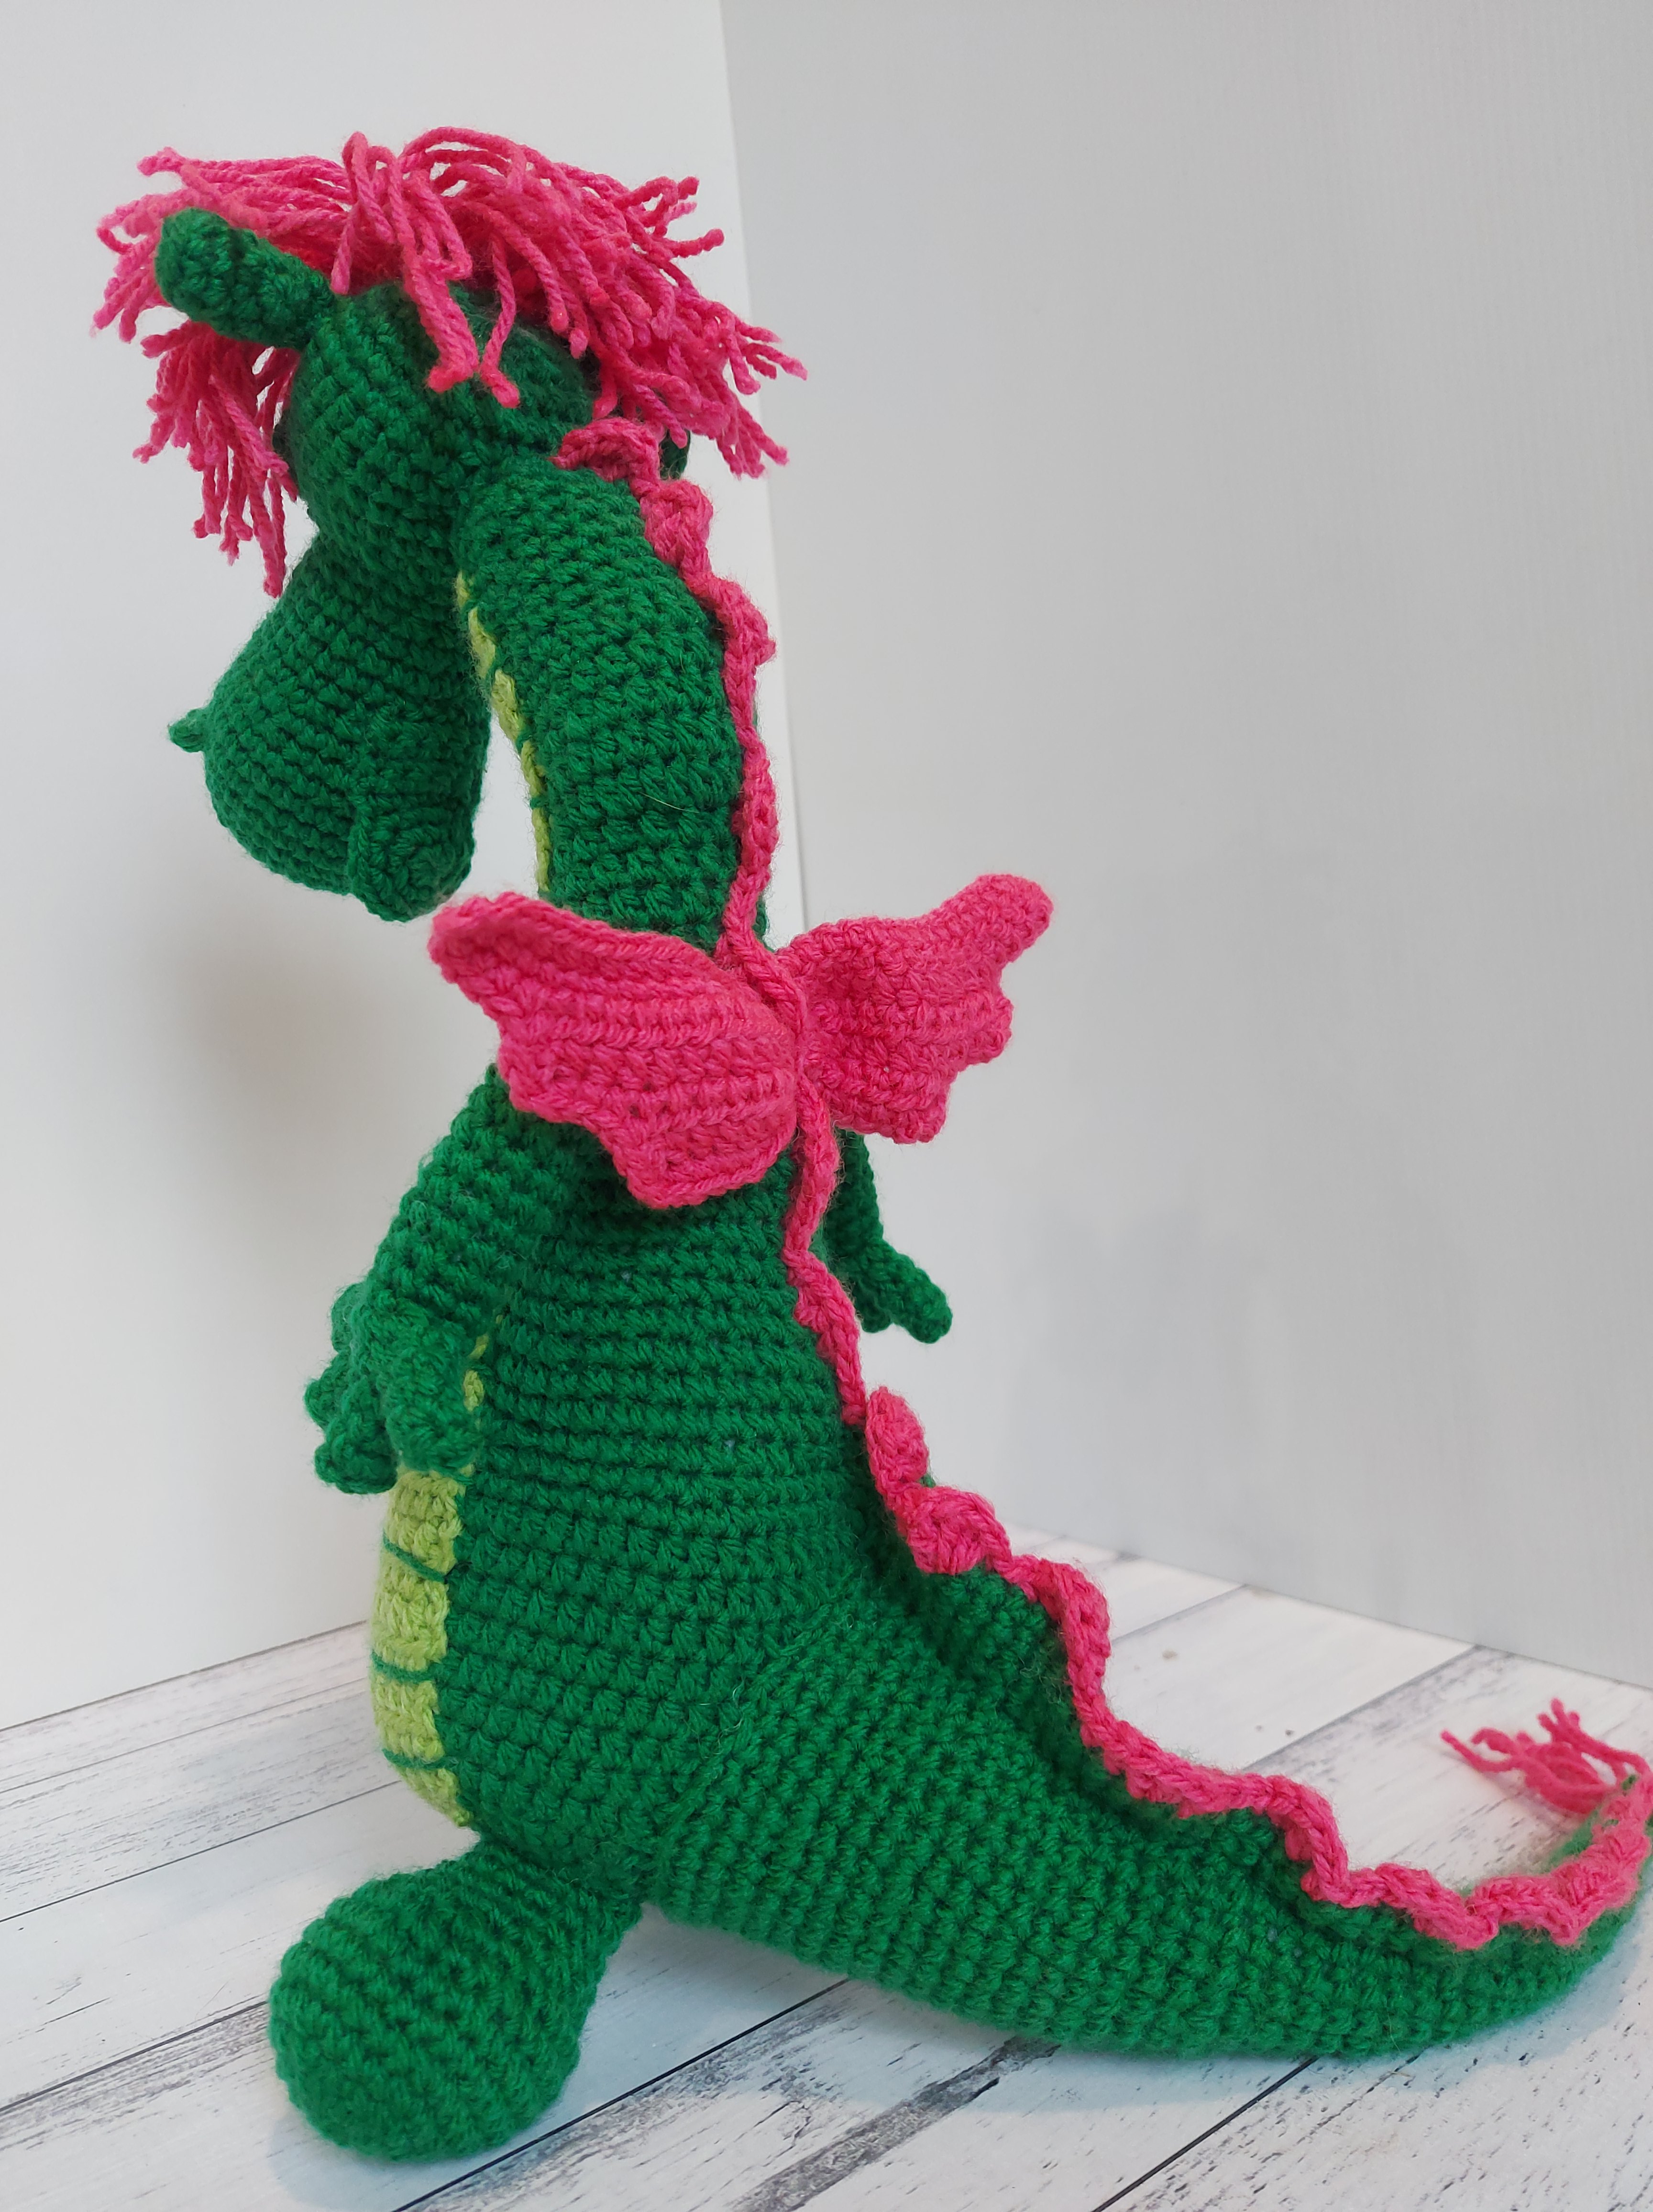
Spine:
I lengthened the spikes by making DC’s TR’s and TR’s dTR’s. In general I retained the same pattern given in the instructions.
Hair:
Using a small amount of pink yarn
R1: in a magic circle make 6SC. Tighten circle. Do not join. [6]
R2: make 2 SC in each stitch around. [12]
R3: *SC, 2SC in same stitch* fasten off and weave in end. [18]
If you want a larger patch of hair add another round using *SC,SC,2SC in same stitch*
Now cut 30+ lengths of pink yarn approximately 3″ long. Using a hook, pull yarn through the circular disk and knot. Repeat this until there is enough hair for your liking. I used around 50 lengths running 2-3 strands in each gap around the pink base piece and in-between each row.
Sew the hair piece to the head. When the dragon is fully assembled trim the hair down to your desired length.
There is a great tutorial by Ana showing how to attach hair to amigurumi. I have embedded the three key images below! Make sure you check out the tutorial.


Tail End
Cut three lengths of pink yarn 3″ long. Using the same technique as the hair piece, pull through the tail. Fasten off and weave in ends. Trim to your taste.
I hope you enjoy this adaptation of the sleepy dragon pattern and make your own Elliot toy!


