
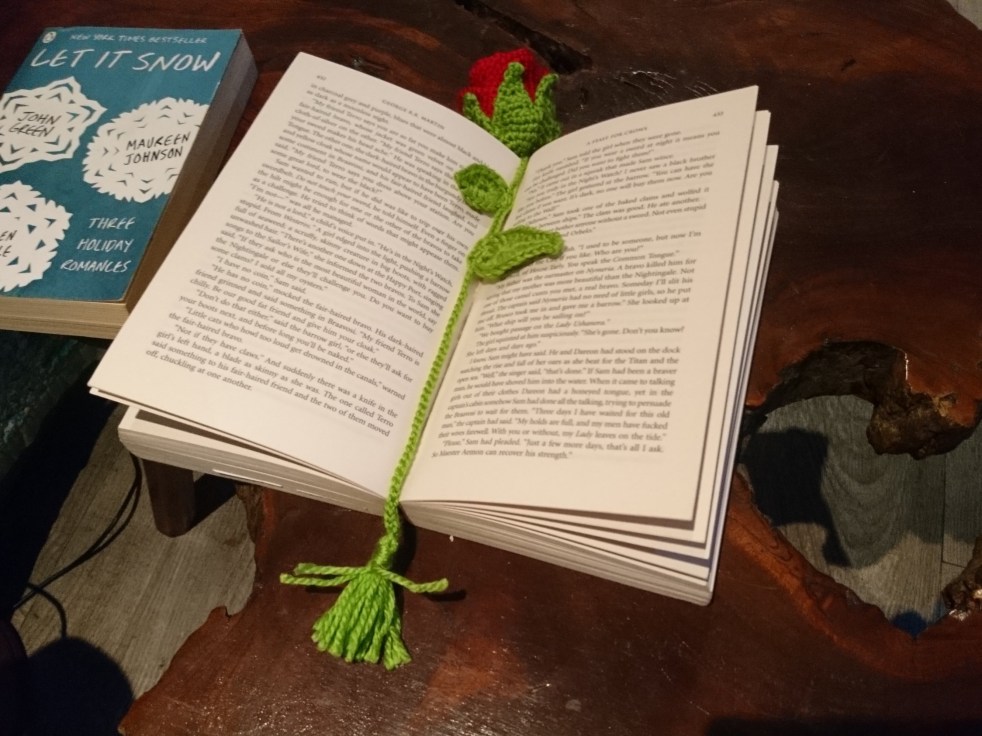
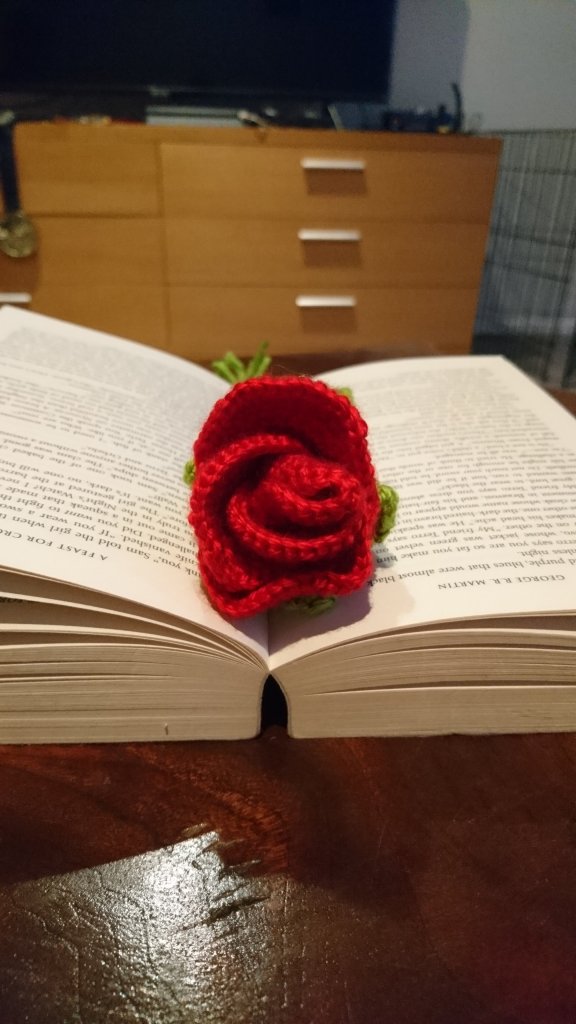
Rosebud Bookmark
Recently I have been making quite a few book marks. With valenteins day there was quite a few clever flower patterns going around. I decived to try my hand at making a rose but. What started as following a youtube tutorial has ended as a pattern. I could not find an appropriately sized rose bud pattern for my need, which was of course a book mark. I have decided to share my pattern for a rose but with everyone.
What will you need?
I used 8ply yarn from my stash for this pattern. I have approximated the amount by weight as I was using leftover yarn. So you will need approximatley:
Red-50g
Green-25g
3mm hook or appropriate hook for your yarn. (rose bud)
1.5mm hook (leaves)
Yarn needle
Stitch marker
Abbreviations:
SC=single crochet
INC=two single crochet in the same stitch
SL= slip stitch
DEC= Single crochet decrease.
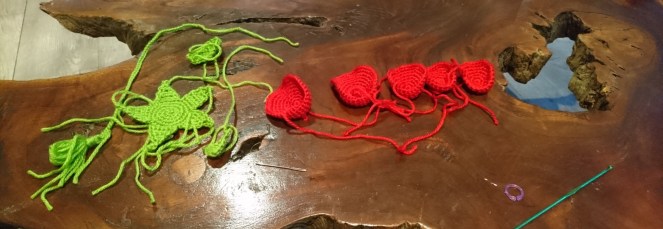
Petal Pattern:
Worked in red yarn, a small petal is to round 6, a medium petal is to round 7, a large petal is to round 8
- R1: in a magic circle SC6. pull tight. do not sllip stitch
- R2: Inc in each stitch.
- R3: SC, INC
- R4: SC5 [INC, SC,]*3, INC, SC5
- R5: SC5 [INC, 2SC]*3, INC, SC6
- R6: SC6 [INC, SC3]]*3 INC, SC6|
- R7: SC6 [INC, SC]*8, INC] SC7,
- R8: SC7 [INC, 2SC]* 8, INC, SC7
I found that you needed a minimum of two large and two medium petals to make a rose but. The fuller the flower, the more petals you will need.
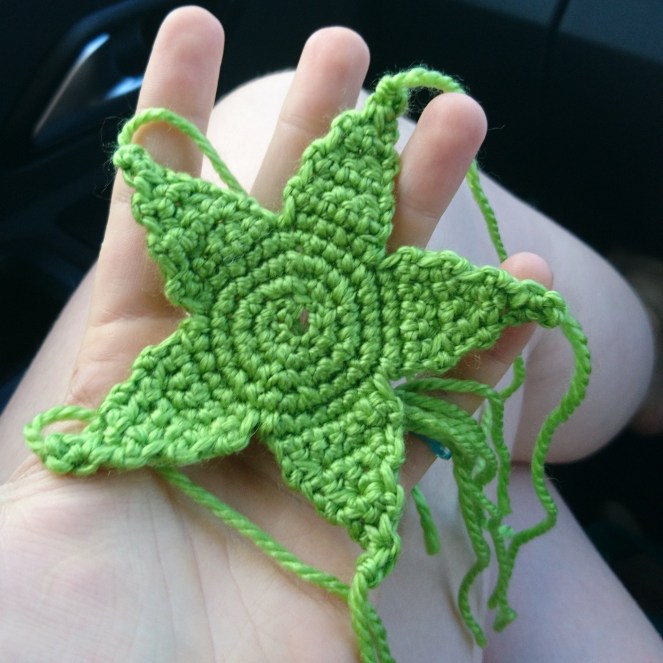
Flower base:
This is worked in the green yarn.
- R1: SC6 and SL into the first stitch. [6SC]
- R2: INC in each stitch around [12 SC]
- R3: * INC* around. [24 SC]
- R4: *SC, INC* around fasten off yarn and weave in ends. [36 SC]
This forms the base, now we make 6 triangles off the base.
- Triangle R1: Fasten yarn with a SL into the next SC of the base (for the first round this is any stitch, rounds thereafter this will be the stitch next to the previous triangle. SC in same stitch, SC in next 5 stitches. CH1 and turn.
- Triangle R2: SC in the next 6 stitches. CH1 and turn work.
- Triangle R3: DEC, SC4, CH1 and turn.
- Triangle R4: DEC, SC3, CH1 and turn.
- Triangle R5: DEC, SC2, CH1 and turn.
- Triangle R6: DEC, SC21 CH1 and turn.
- Triangle R7: DEC, CH1 and turn.
- Triangle R8: SC in top of DEC from previous round. Fasten off and weave in ends.
- Repeat triangle steps 6 times.

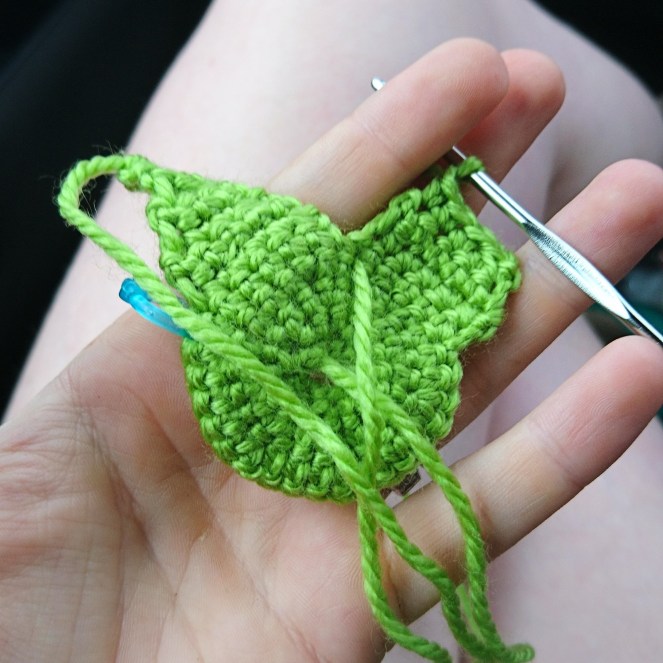


Leaf Patterns:
Large Leaf
The pattern : I used some remnant green wool and a 1.5mm hook to make the leaves.
Chain 6, this will be the leaf backbone. Slip stitch into the second chain from the hook, sc in the next stitch, hdc in the next, dc in the next chain. In the last chain work 5 dc. Working back along the ‘backbone’ dc in the next stitch, hdc, sc, slip stitch, chain 1. Sc around the chain and then slip stitch into the very first slip stitch. Fasten off and weave in all ends.
Small Leaf
The pattern : I used some remnant emerald green wool and a 1.5mm hook to make the leaves.
Chain 5, this will be the leaf backbone. Slip stitch into the second chain from the hook, sc in the next stitch, hdc in the next, dc in the next chain. In the last chain work 4 dc. Working back along the ‘backbone’ hdc in the next stitch, sc, slip stitch, chain 1. Sc around the chain and then slip stitch into the very first slip stitch. Fasten off and weave in all ends.
Tassle
To make the tassle followed these instructions. There are many ways to make a tassle, I made the tassle about 40mm in length.
Body and Assembly
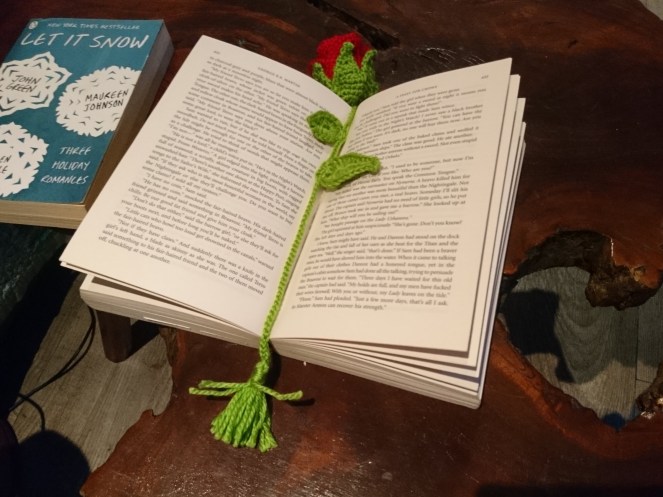
- In single crochet make a chain . the chain should be long enough to close your book with both the bud and tassle outside of the book. I allow an additional centimeter each side to be safe. Attach the tassle with a slip stitch.
- Sew on each of the two leaves. I did this by attaching the three base stitches of each leaf to three chains in the stem.
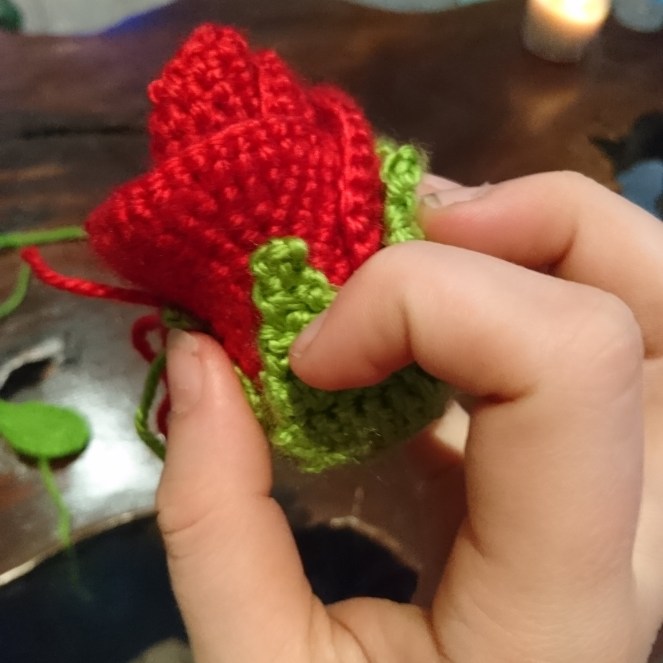
- Arrange the petals as desired to create the bud shape that you prever. I found that holding the green against the petals helped with the design. I then pinned the whole bud together and removed the green base.
- Using red yarn sew each petal to each other so that the bud holds itself together. Sew in all loose ends.
- Using green yarn carefully sew on the green base. make sure you dont go the whole way through any of the betals as you will see this inside the bud.
- Sew the end of the stem to the green base. Weave in any missed ends.
Your bookmark is now complete! Happy reading. I hope you have fun creating your own bookmarks. Tag me in your finished instagram posts, I would love to see your versions.


Terms of use:
Free patterns found on this site can be used to make finished items for the following purposes:
- For personal use
- As gifts for friends/family
- For charity donations
- For sale online
- For sale at craft fairs, outdoor markets, etc.
When using the free patterns found on this site, please be aware of the following:
- You are allowed sell finished items from the patterns found here. However, you may NOT, under any circumstances, use the photos found on this site for selling your items. If you are going to sell online, you should make your own items and photograph them to represent your own work.
- You may NOT copy and paste the pattern onto your own blog, Facebook, or anywhere else. If you would like to share a pattern, simply share the link to the page instead. You are welcome to copy and paste a pattern into a document for printing or saving for personal use only.
- You may NOT use the free patterns found on this site as teaching material and/or for online classes without expressed written consent from the designer/owner of this page.
- You may NOT use the free patterns found on this site to create video tutorials on YouTube or any other video platform, site, or blog.
- You may NOT post a translation of the patterns found on this site anywhere without expressed written consent from the designer/owner of this page.
- You may NOT create PDFs of the patterns found on this site, altered or in its original form, for intent to distribute to others or post on illegal pattern sharing sites. The revenue earned by ad traffic to this site is what allows for free patterns to be written and published. Without people visiting this site to view the patterns, there will be no traffic which means, no more free patterns.
- You may NOT copy any of the free patterns on this site, in part or as a whole, and claim them as your own pattern.
- You may NOT resell the free patterns found on this site, altered or in its original form.
If you have any questions regarding the terms of use of this page, please contact the designer/site owner.

One thought on “Rose Bookmark”