
I’ve seen a few posts on pintrest combining crochet with beads to make jewelry and accessories. You can even use beads to make clasps on bags, or as a small button replacement. There are a lot of different beads, but I was interested in making some of my own. It turns out the process is really simple, and far cheaper then buying larger beads. You can also customise the colours of your beads and add your own personal twist to your hand made items.
This tutorial is really simple and would make a toughtful, but quick gift that is hand made. Hand made gifts are hard to beat.

What You Need

- Oven, heated to 110 degrees celcius
- Polymer Clay, I used this cheap clay
- Skewer or toothpick
- Knife or Scissors to cut clay
- Baking pan
- Aluminium foil
- protective mat for surface if desired.
Process
The process to make these beads is shown pictorially following the pictures left to right down the page. I have also provided written steps below.
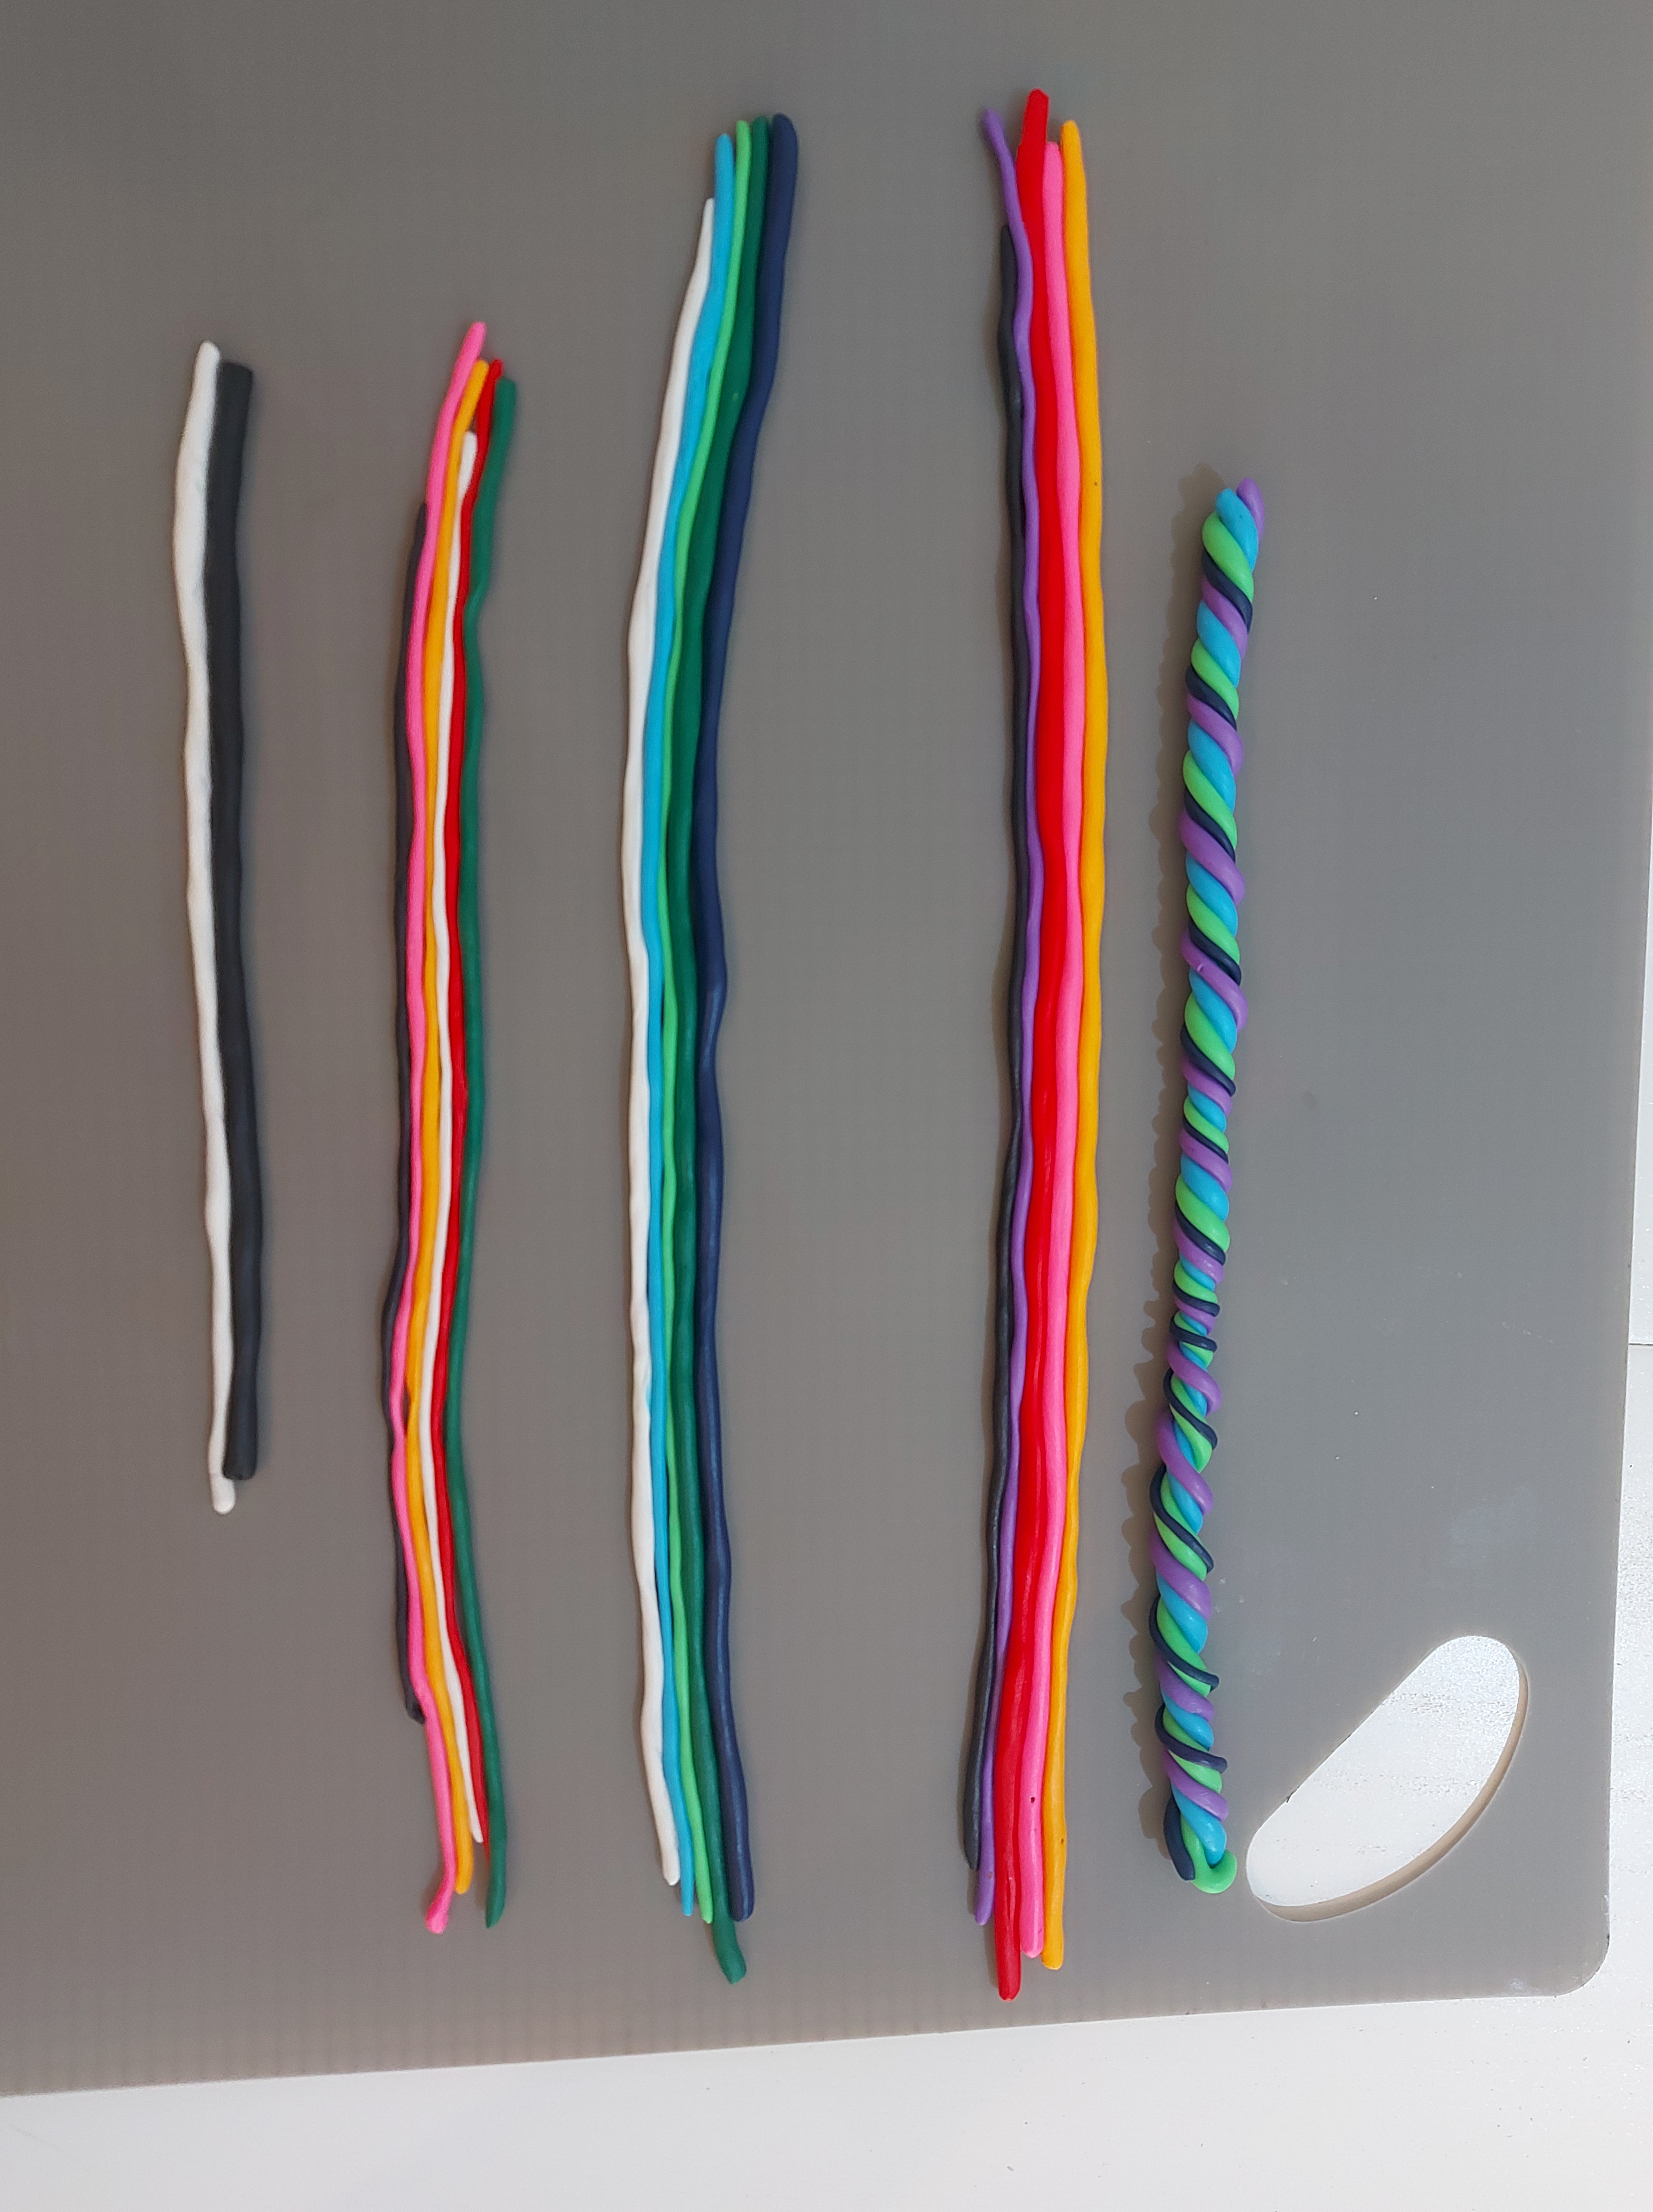
- Cut small sections of the colours you wish to use. I would recomend no more then four colours per bead. if you want one colour to be more prevalent in the bead make sure more of that colour is used. The exact ammount of clay you use will determine how many beads you want. The beads shown in this tutorial only used half of the clay packed from Kmart.
- Roll each colour into a “log” of even length. My logs were around 25cm each.
- Line up the bead colours tegether and gently press together.
- Twist the colours tegether this will give you a “swirl” of colour as shown in the first row right photo and second row left photo.
- Very gently roll these out to smooth the ridges as shown in the middle photo in row 2. if you apply too much pressure you will make the roll too thin and end up with small beads. The thicker this roll is the larger the bead diameter will be.
- Slice the logs into even length pieces. I chose around 20mm lengths for the beads. The exact measurement will not matter.
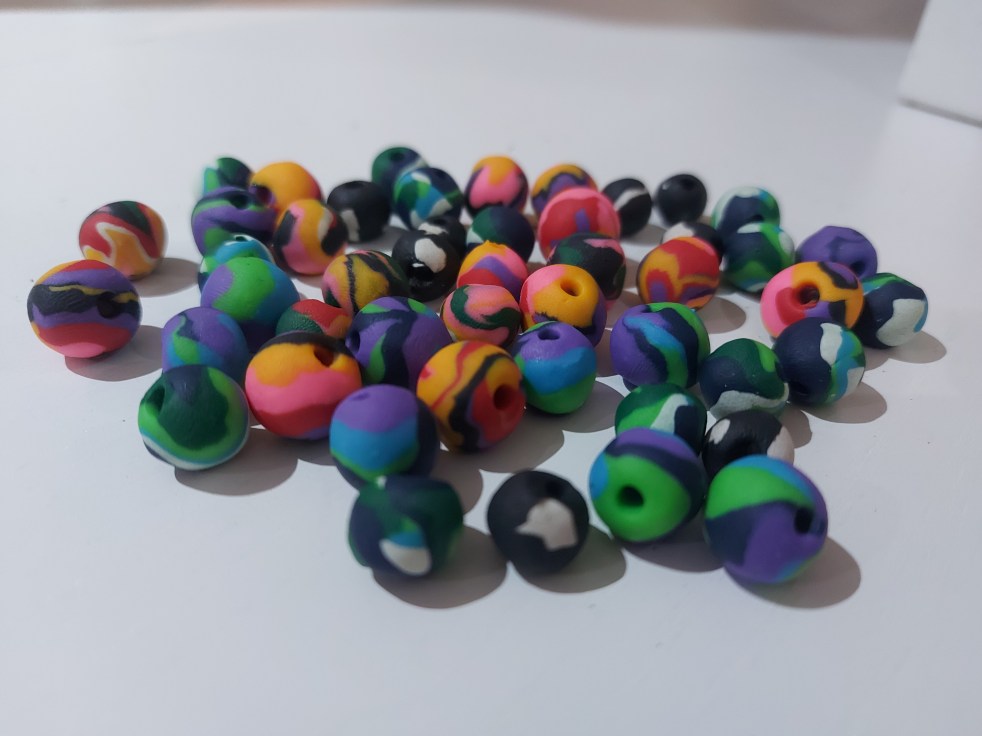
- Gently pinch and roll each log into spheres. If you want square or hedron shaped beads pinch into the desired shape.
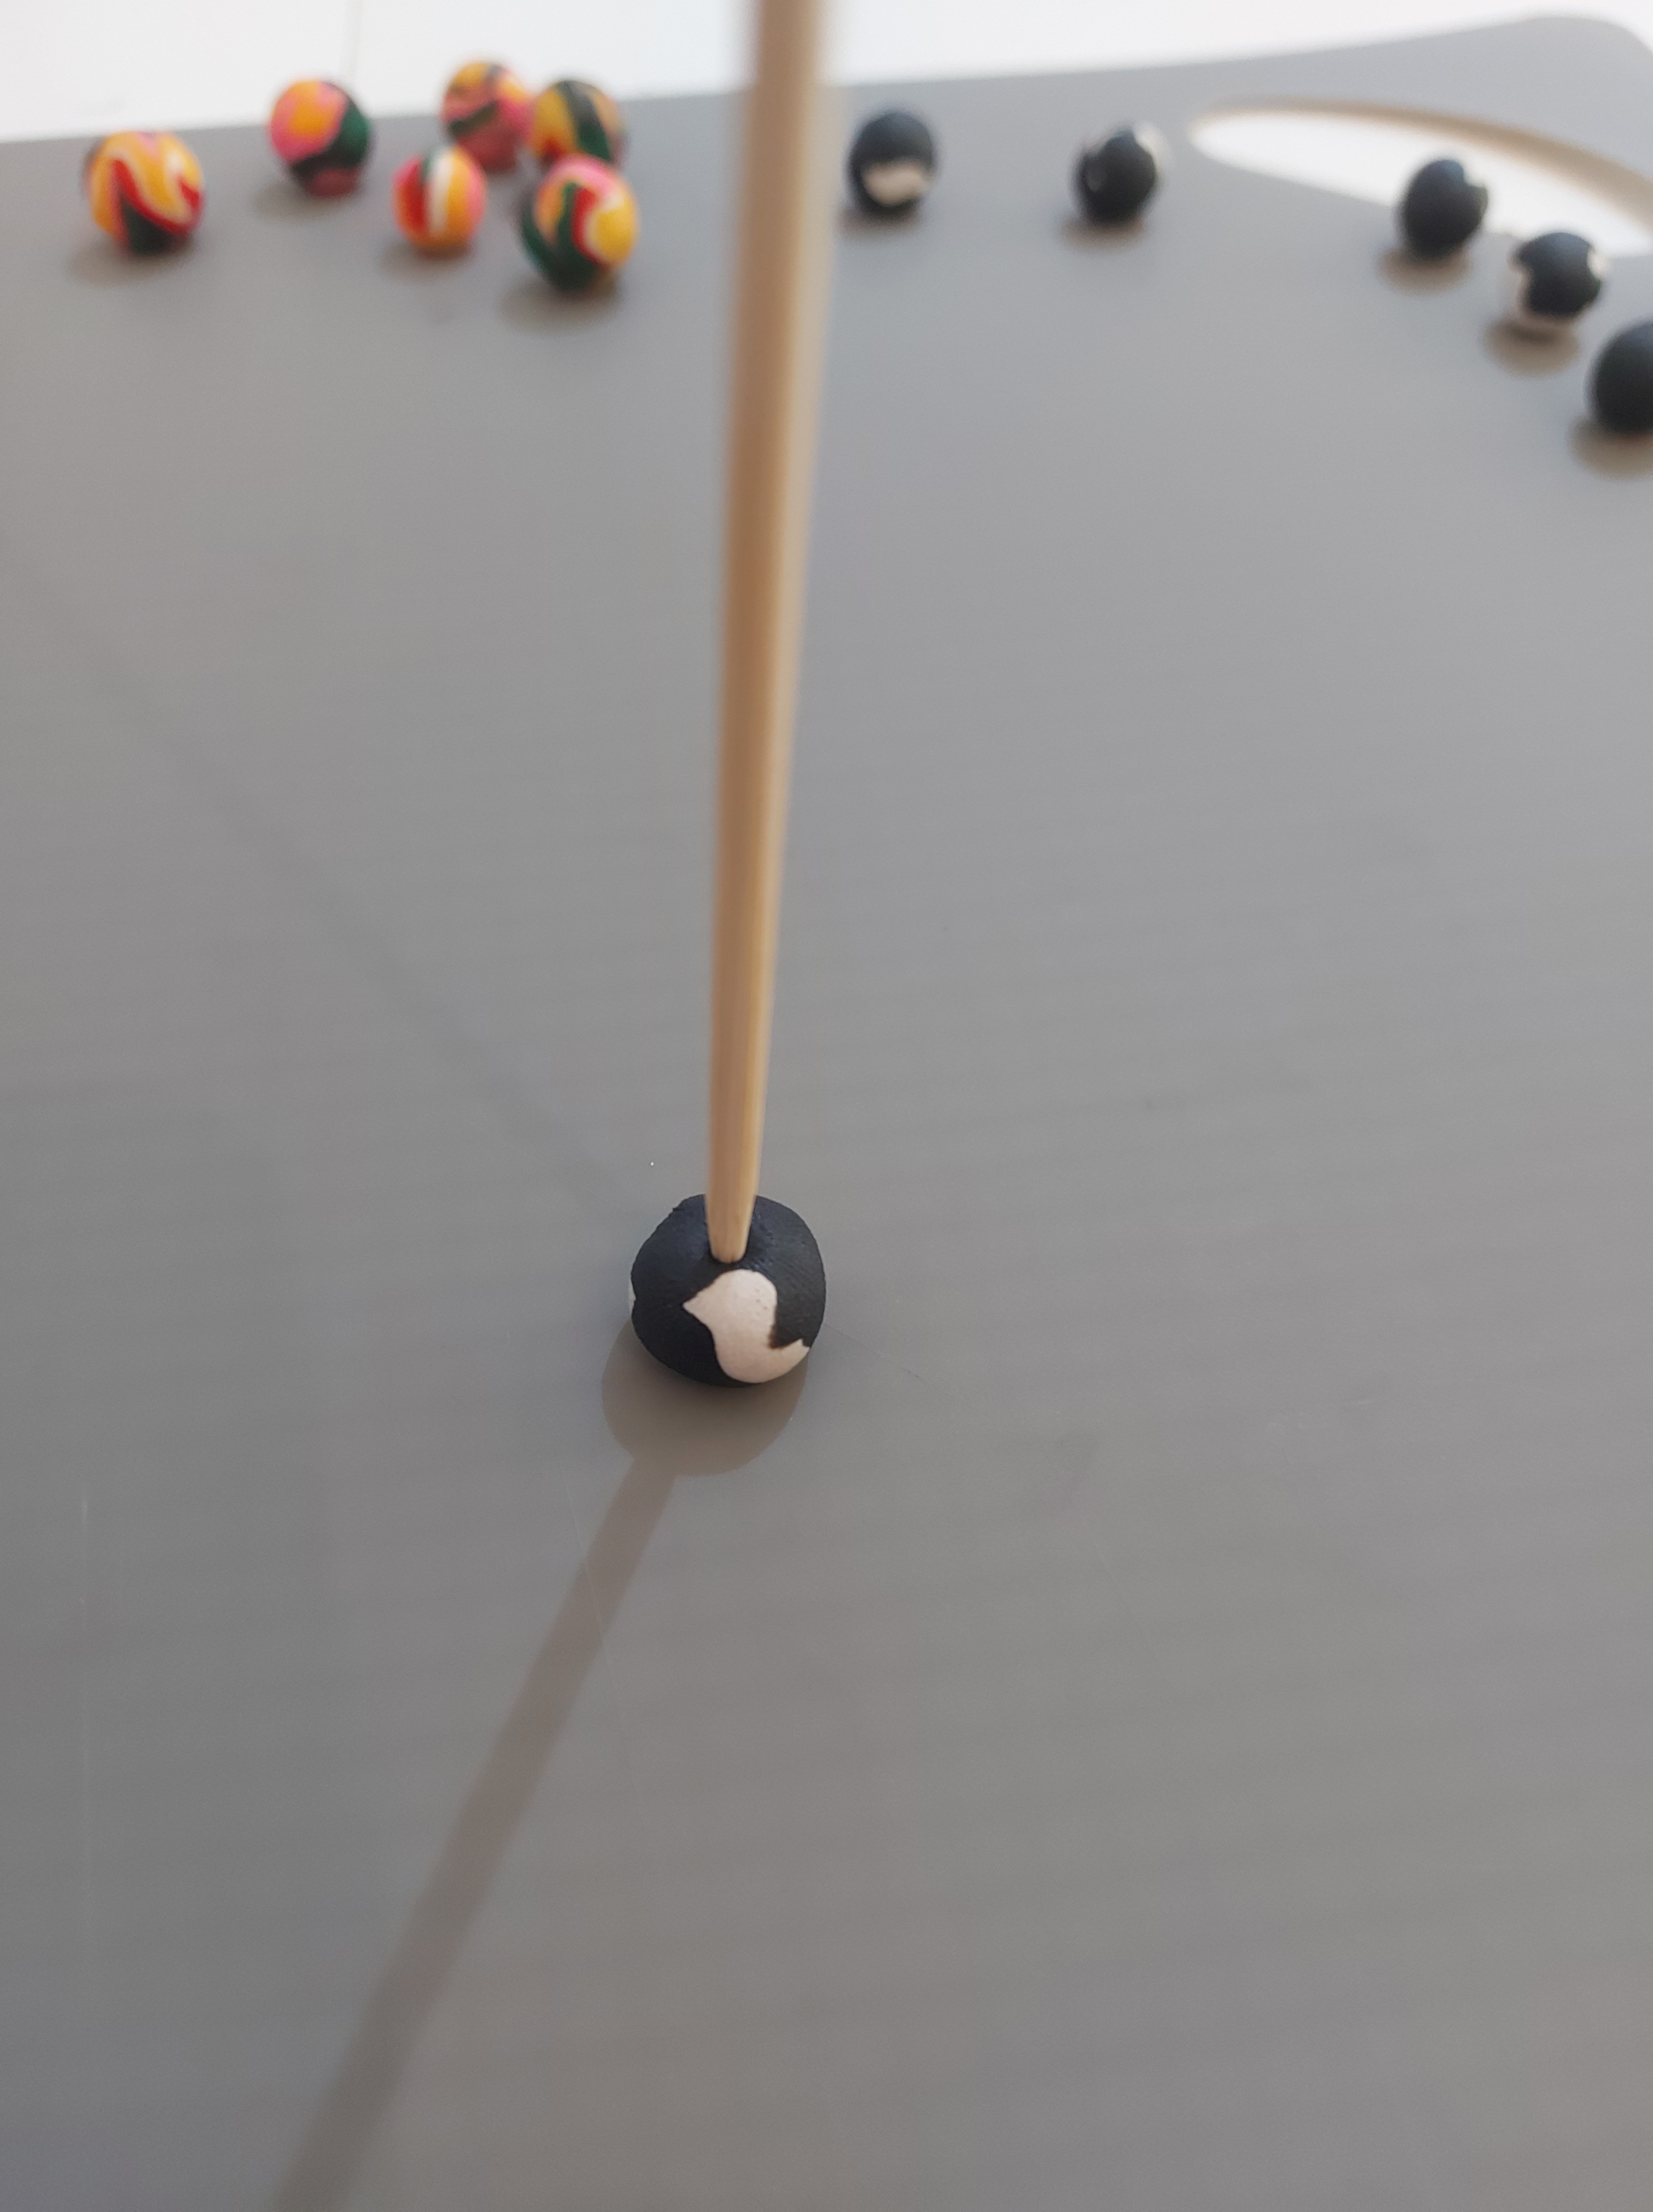
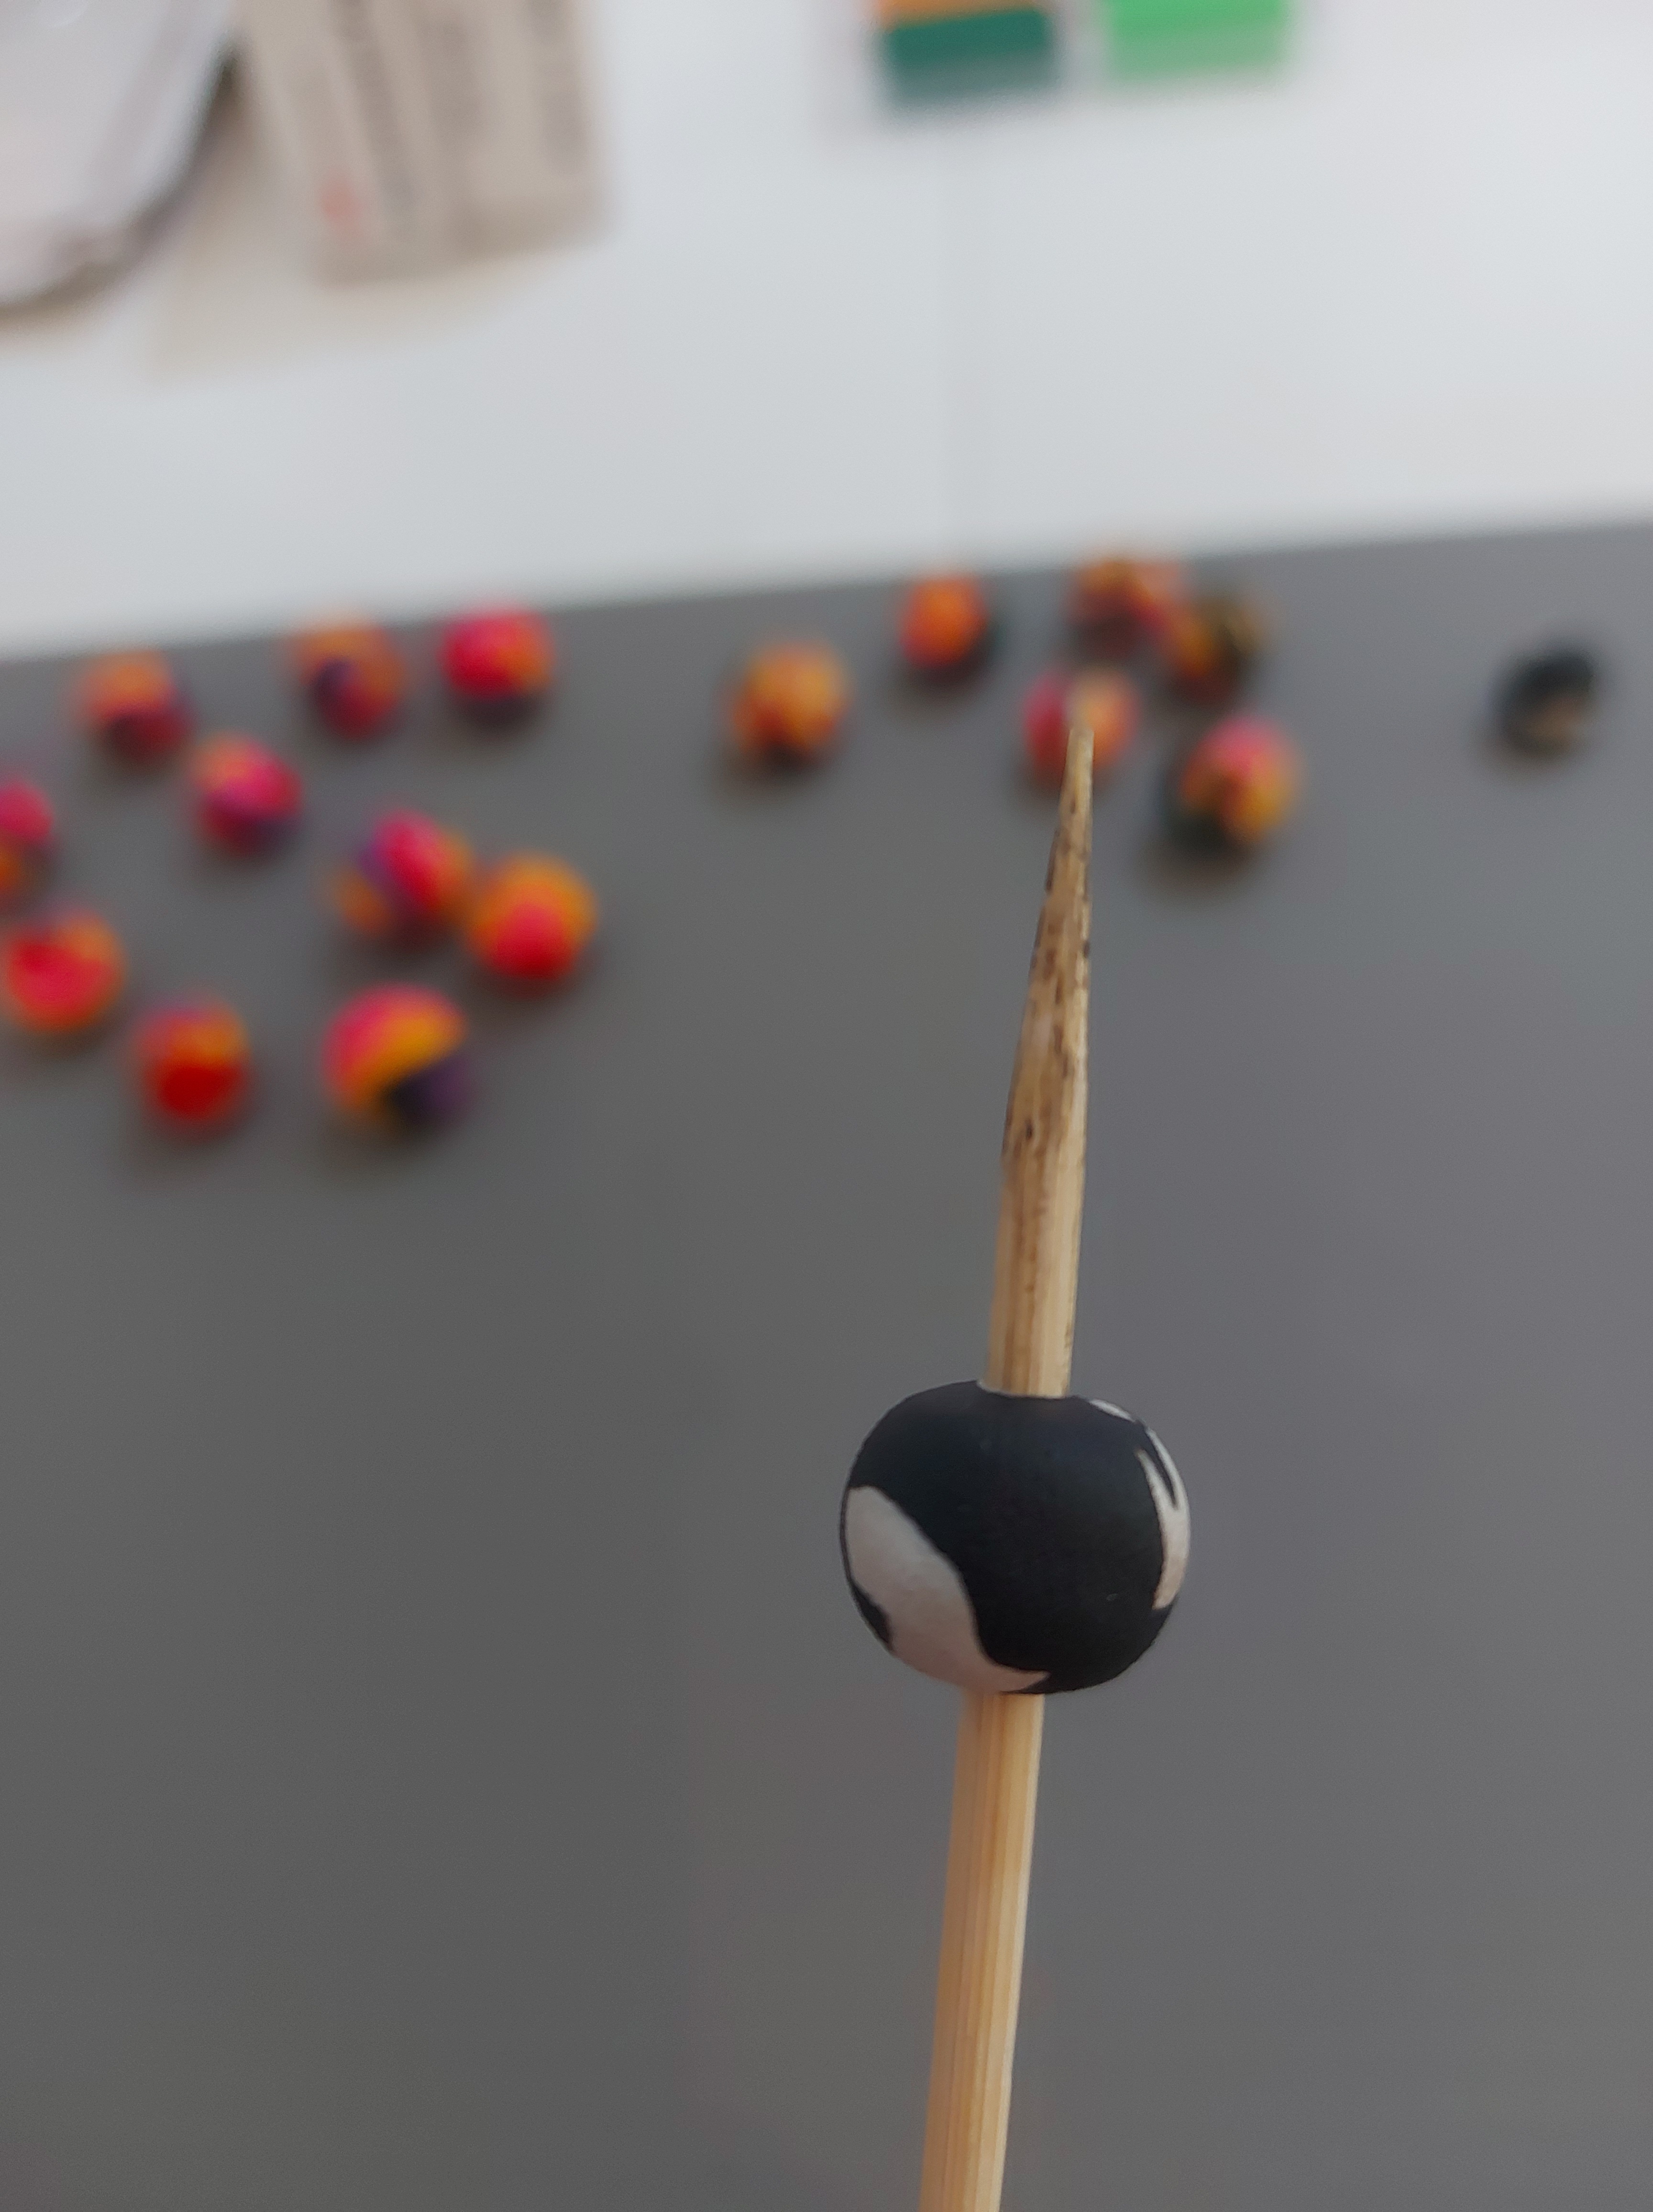
- Using the skewer very gently place a hole in each side of the bead. The skewer diameter will determine the thread hole diameter. If you want a smaller opening try a toothpick or yarn needle. you need to be careful not to squash your bead out of shape while doing this step. It must be done before baking the beads to set them.
- Place beads into an aluminium fol lined baking tray. Place into oven for 10-30 minutes depending on the specific instructions for the clay used. I needed to bake for 25 minutes at 110 degrees celcius.
- Let the pan and beads cool before you use them.


I hope you enjoy making polymer clay beads. Dont foget to tag me ( @crafty_commuter) in your social media posts so that I can see your finished products!
